
Lee's family all have the same stockings. During my second Christmas with Lee we were at his parents' home and his mom gave me all the materials to make a stocking. Soon thereafter she sent me a supply of beads and felt she was no longer using. After making mine, I made stockings for all of my other kids, except Clark. His stocking was his great-grandfather's. Lee's mom replaced Grandpa Hibbard's name with Clark's--what a great keepsake! Though Elden is the last child, I have kept making stockings. They do take time, but they are fairly inexpensive.
On to the tutorial. Here is a list of supplies you'll need:
Felt, various colors
Needle & Thread
Bells
Pinking Shears
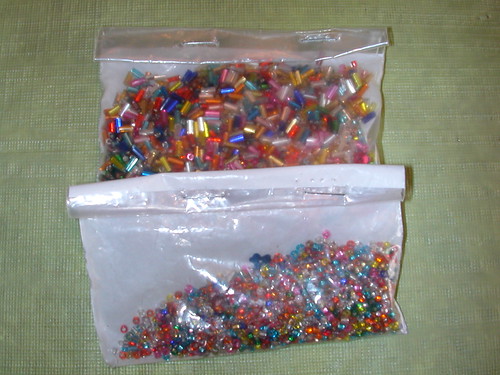
Beads
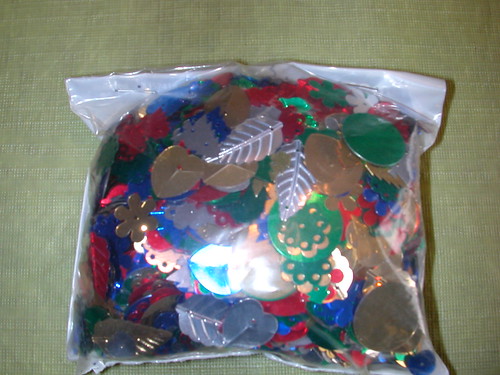
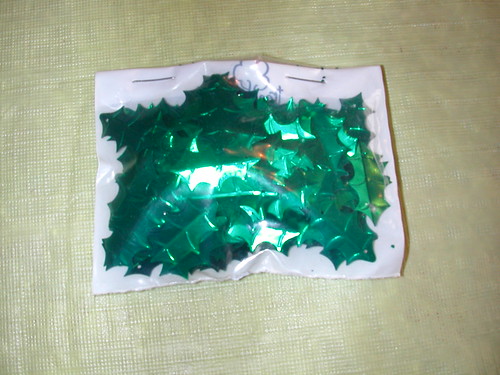
Sequins
Glue, such as Tacky Glue
Glitter
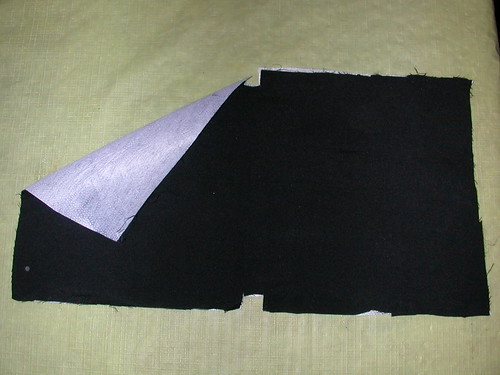
Cut a stocking out of felt. I do red, but pick any color you want. You'll have to buy more than just the craft sheets of felt for the stocking. Cut it about 1/4 inch bigger on the edges. You'll be sewing and trimming it later.
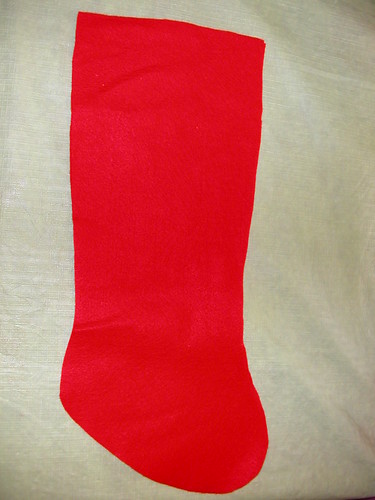
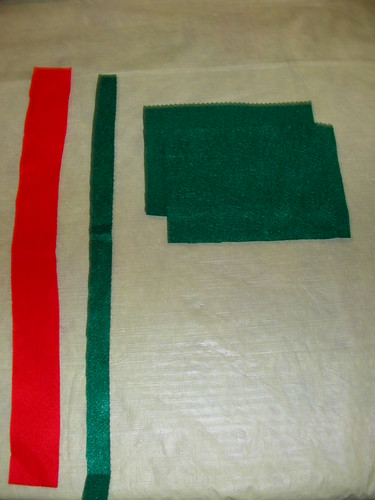
You'll need these pieces too. Oh and felt irons out quite nicely. Just use a low iron. If you need to iron it after you sew on the decorations, just flip it over and iron the back.
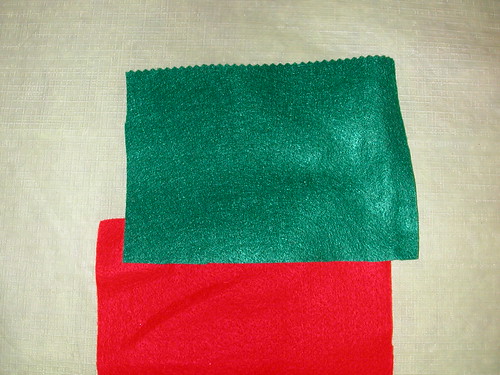
You don't have to make the stocking part very "tall" because you'll add a green top to it.
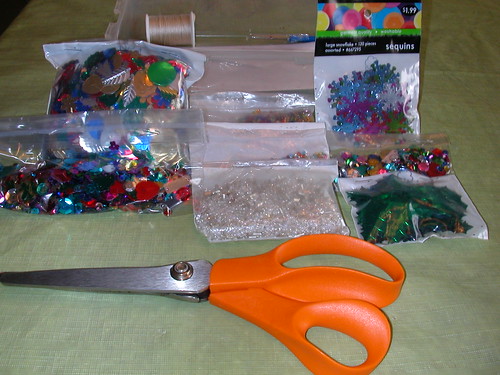
Next, you'll need some thread, a needle and some accessories! This is my stocking box.
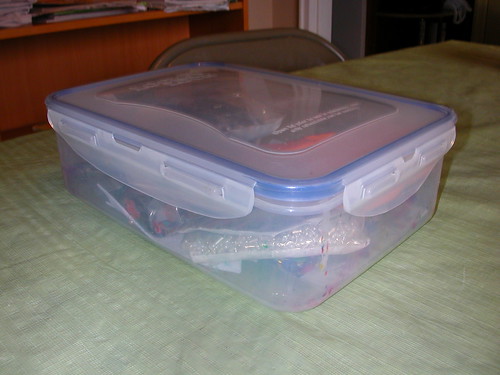
Many of these beads and sequins I got from Lee's mom. Every year I put them back in the same bag and re-staple it. If you shop at Michael's or Hobby Lobby you can always get 40% off coupons, of course making the beads and such very cheap! Oh, if you want the jagged edge, you'll need a pair of pinking shears. I bought them specially for stockings and I think I use them only on the stockings. I was happy with the purchase though!
When I make these stockings I like to break up the process. Unless you have a whole day solo, don't anticipate getting these done in one sitting. After I cut out the stockings, I cut out the personalized felt pieces. Sometimes I hand cut them, but other I make a paper pattern first.
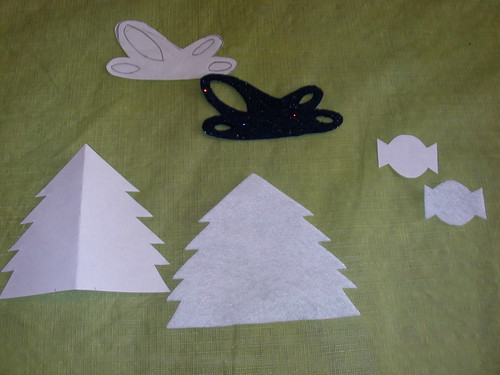
I finally decided to keep most of the little patterns I made. Maybe I can use them again?
Next I sew on all of the felt decorations.


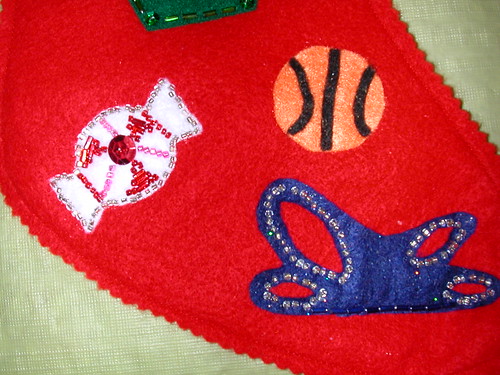
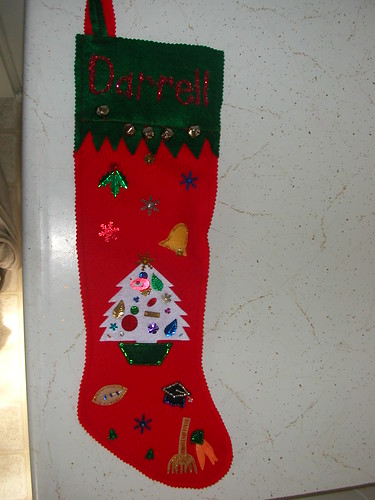
Usually by the foot of the stocking is where I personalize it. It's tricky to personalize a baby's stocking, but Elden sure likes candy and balls!
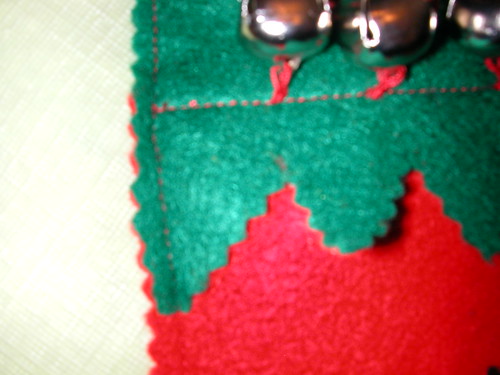
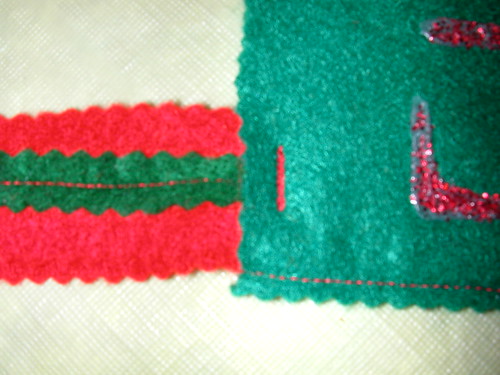
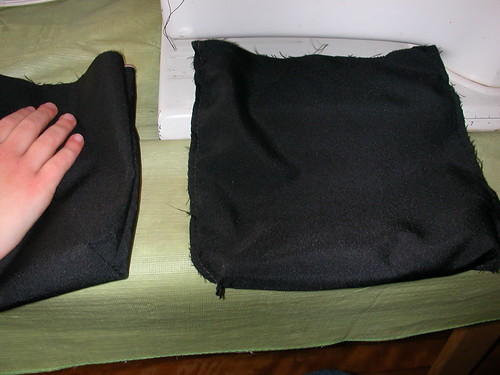
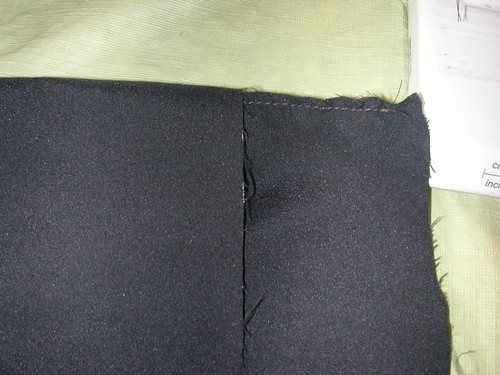
Next is sewing. First I cut the pointed edges on the bottom of the green top. There are two green tops, a front and a back, so make sure to cut both. Then sew one green top to the front of the stocking, and then sew a green top to the back of the stocking. Line up the front and the back, pin, and sew all the way around. Trim closely with pinking shears (be careful to not get too close!). If the initial stitching of sewing the green top onto the stocking over laps the stitching of the outside of the stocking, you can unpick the overlap if you want. I've done it before.
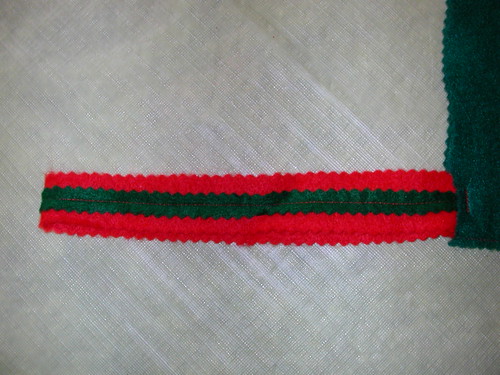
Next trim the skinny red strip and the green strip with pinking shears. Then sew the green on top of the red.
Then attach to the stocking. After that sew on the bells--double up on the thread. My new bells have cut through the thread and I've had to re-sew some. Last step, write the name in glue and then sprinkle with glitter. Let the glitter dry completely. I actually haven't had the best of luck with tacky glue, but I keep using it. It spreads out and flattens when I use it. You could use a hot glue too...maybe do a letter at a time?
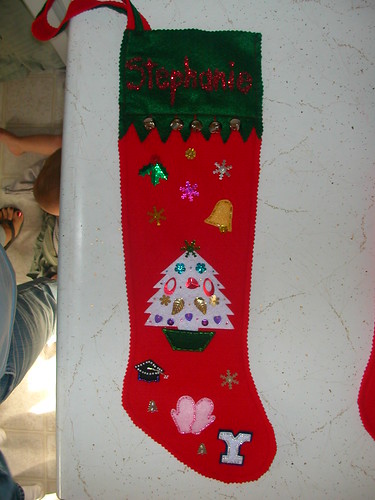
Last Christmas I made my parents and my sister Stephanie and her husband Andy stockings.
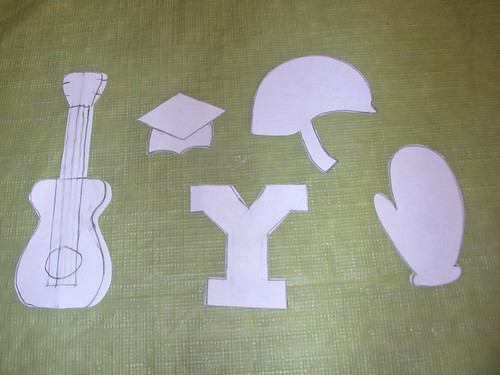
My dad loves gardening...hence the rake type thing and the carrots, loves football and has his PhD in Food Science thus the grad hat.
My mom likes chocolate and candy and published a great young adult novel with Houghton Mifflin, The White Dove. I tried to re-create the book. She also likes horses and had one when she was younger, so you could say that is why there is a sleigh...

Andy loves music and play the guitar, is currently attending law school, and goes to BYU.

Stephanie loves clothes--thus the gloves, is getting her Master's degree in Food Science and also attends BYU.
I finished Sheldon's stocking a couple of weeks ago.

Sheldon attends BYU-Idaho and is in the National Guard. Don't you love the bling on the kevlar helmet?

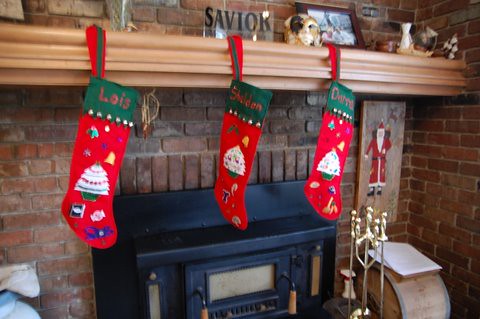
Here are all of our stockings...sorry you can't see the details! It was hard to get a photo with all of them in.

My parents' and Sheldon's stockings.
Whatever you create with stockings have fun with them! It's a fun piece to pull out year after year and enjoy during the holidays. Merry Christmas!


