
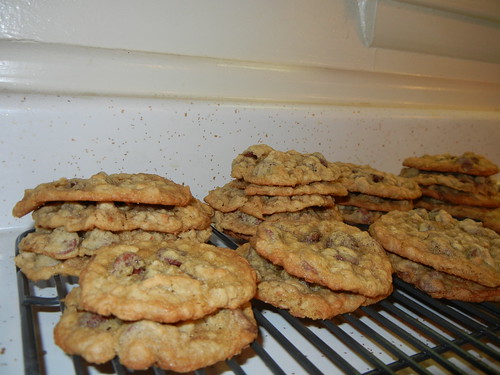
Oatmeal Chocolate Chip Cookies
Lynn Jeanfreau
Ingredients:
1 cup unsalted butter
1 cup brown sugar (not packed)
1 cup sugar
2 eggs
2 teaspoons vanilla
1 teaspoon salt
2 teaspoons baking soda
½ teaspoon baking powder
2 ¼ cup flour sifted (measure then sift)
2 cups old fashioned oats
1 bag Guittard Milk Chocolate Chips [I have no idea where to get Guittard chocolate chips...we just used what we had on hand]
Directions:
1. Preheat oven to 350 degrees.
2. Cream butter and sugars together for about 5 minutes. (It's a chemical reaction, so give it time.) Add vanilla and eggs.
3. In a separate bowl mix salt, baking soda, baking powder, and sift flour.
4. Add dry ingredients slowly to wet while mixing. Do not over mix.
5. Add oats. Add chocolate chips.
6. Place dough balls that are about the size of a golf ball an un-greased cookie sheet (parchment paper on the cookie sheet works best).
7. Bake for 8-10 minutes. Time will vary depending on ovens, but you want to take them out just before the tops start to golden.
8. Let cool on a sheet a for 3 minutes. Once they set, taking about 15 minutes, they will be ready to eat.
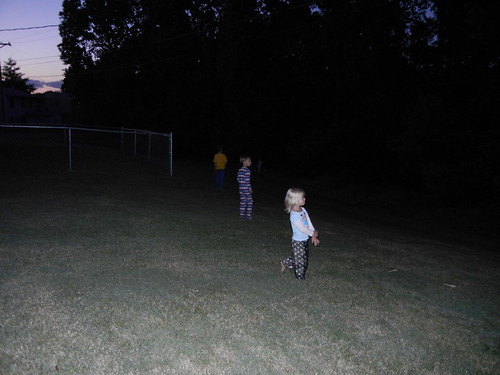
The story behind making the cookies was promise to have a party the following night if all the kids were asleep by 8 pm! After the party (cookies, popcorn, soda and a movie!) the kids went out and caught fireflies or lightening bugs...your preference. Next week I will be posting on my grocery budget and how I fared for June. Stay tuned!
~Ruth


