
Haley and Shanna Christmas of 2010

I bought this purse for the girls' (they each got one) birthday in May. We got them a mini Book of Mormon to put in the purse, thus becoming their little Sunday bag. Well, blue doesn't really go with their Christmas skirts.
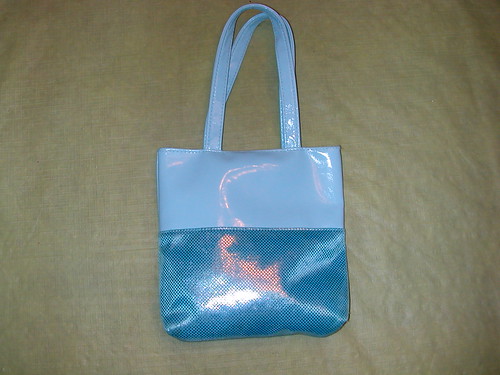
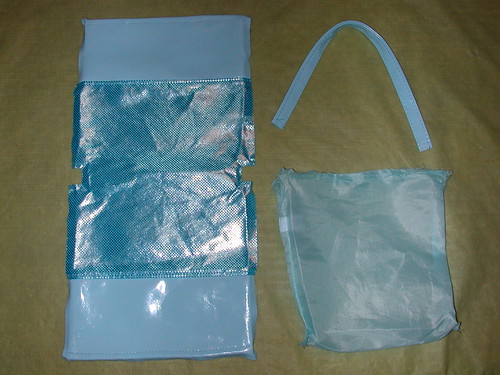
Bear with me, I am not a good writer...but I think the pictures will tell the tale. The purses were only $1 at Target so I actually bought four of them. I figured if my girls lost one then I could have a back-up. Amazingly they haven't lost their purses. So I took one of them and ripped it apart with my seam ripper. I figured I could use it as a pattern. When it comes to fabric I am more of a pattern person. That isn't necessarily true with cooking, but it sure is with fabric.
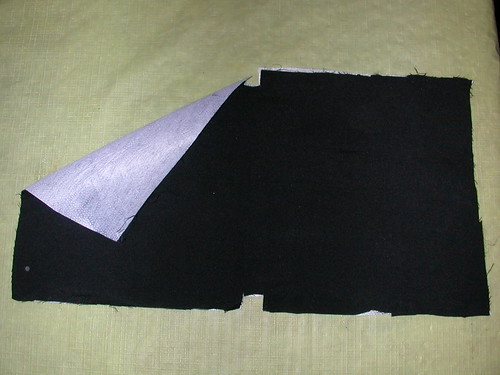
If you don't have a purse to rip apart, here is the basic pattern that you want...a rectangle with a square, rectangle thingy cut out of the middle edge. I used fabric that I had on hand. This fabric is from my high school choralier skirt. I cut of these shapes out of the black fabric. Cut two. I had a lot of interfacing (I bought too much one time) and ironed some interfacing on one of the black pieces (outer shell) of the purse.

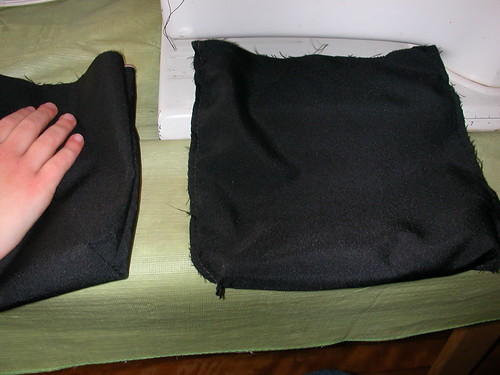
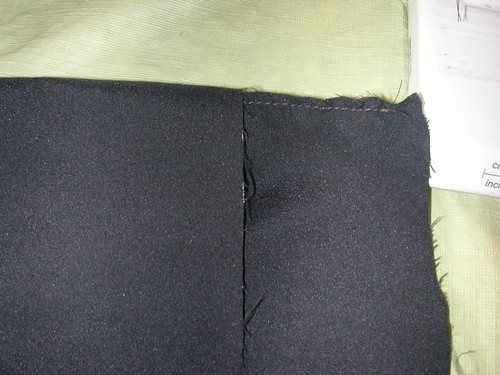
Fold the piece of fabric in half, with right-sides together and stitch up the sides--don't stitch the little hole that is created. The corner will look like a right angle....or a resemblance of one as my picture tells. Right here I have just sewn my lining. Oh and as you can tell the seam isn't very wide. I am not sure how wide it is, but it is narrow. You can make it wider if you want. Just sew the same seam width on all pieces.

Next, where the hole in the fabric is, make it into a triangle...or a volcano where the hole is at the top and the seam is in the center of it. Lay it flat. Sorry my picture is kind of crooked of the top of my "volcano". Then stitch up the hole. The stitching of the hole should be perpendicular to the stitching of the seam sewn previously. Yet again, a picture of the lining. Sorry...does this make sense? I think once you do it you'll see what I mean.

And voila! You get a nice stitch for the bottom of the bag. This is actually a picture of the outer shell, not the lining. But you do the same stitching on both pieces.

Before you sew the outer shell and the lining together stitch on any other things you want on the outside of the purse, like a fabric flower.

So now you have the outer shell and the lining. Time to sew them together!
Make sure the outer shell is turned right-side out and that the lining is wrong-side out.
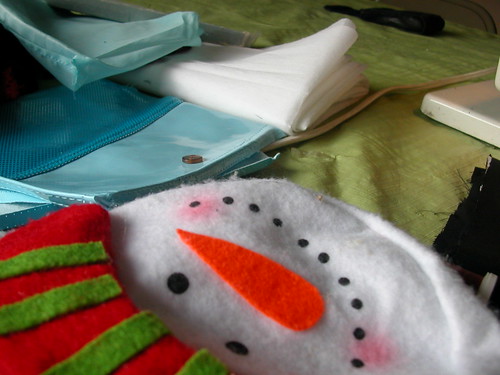
Now you need a break. Here are some random pictures that Shanna took. She managed some good lighting!

Okay, so I forgot to tell you about the handles. I had a fake satin belt for one of my formals that I never wear any more and I used the belt for the handles. I used the blue handle to determine the length of the handle for the purse. The belt was about 1 1/2 inches wide. I folded it in half and did stitching down both sides--so basically it was a piece of fabric folded in half, and then folded in half again.
Pin the lining and the outer shell together, folding the edges into the center....see below.

You're ready to sew!

I found while sewing that it's better to pin the handle likes this instead of perpendicular.

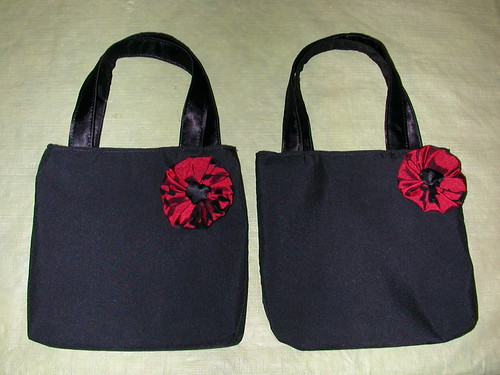
And you're done! Okay, maybe a few hours later.... I am excited to make some other purses for the girls, now that I know how to make them!
Now they have purses to match their Sunday Christmas outfits!
2 comments:
Looks awesome Ruth! Your re-purposing of fabric is so cool.
Those are so stinking cute! Good job! I am going to have to make Sophia one!
Post a Comment